Hey blogger, welcome back to our step-by-step journey to launch and grow your blog in 2025!
In our previous post, we walked through how to create a lead magnet that your audience actually wants — and you even got to see mine: the “30-Step Blog Launch Checklist (2025)”
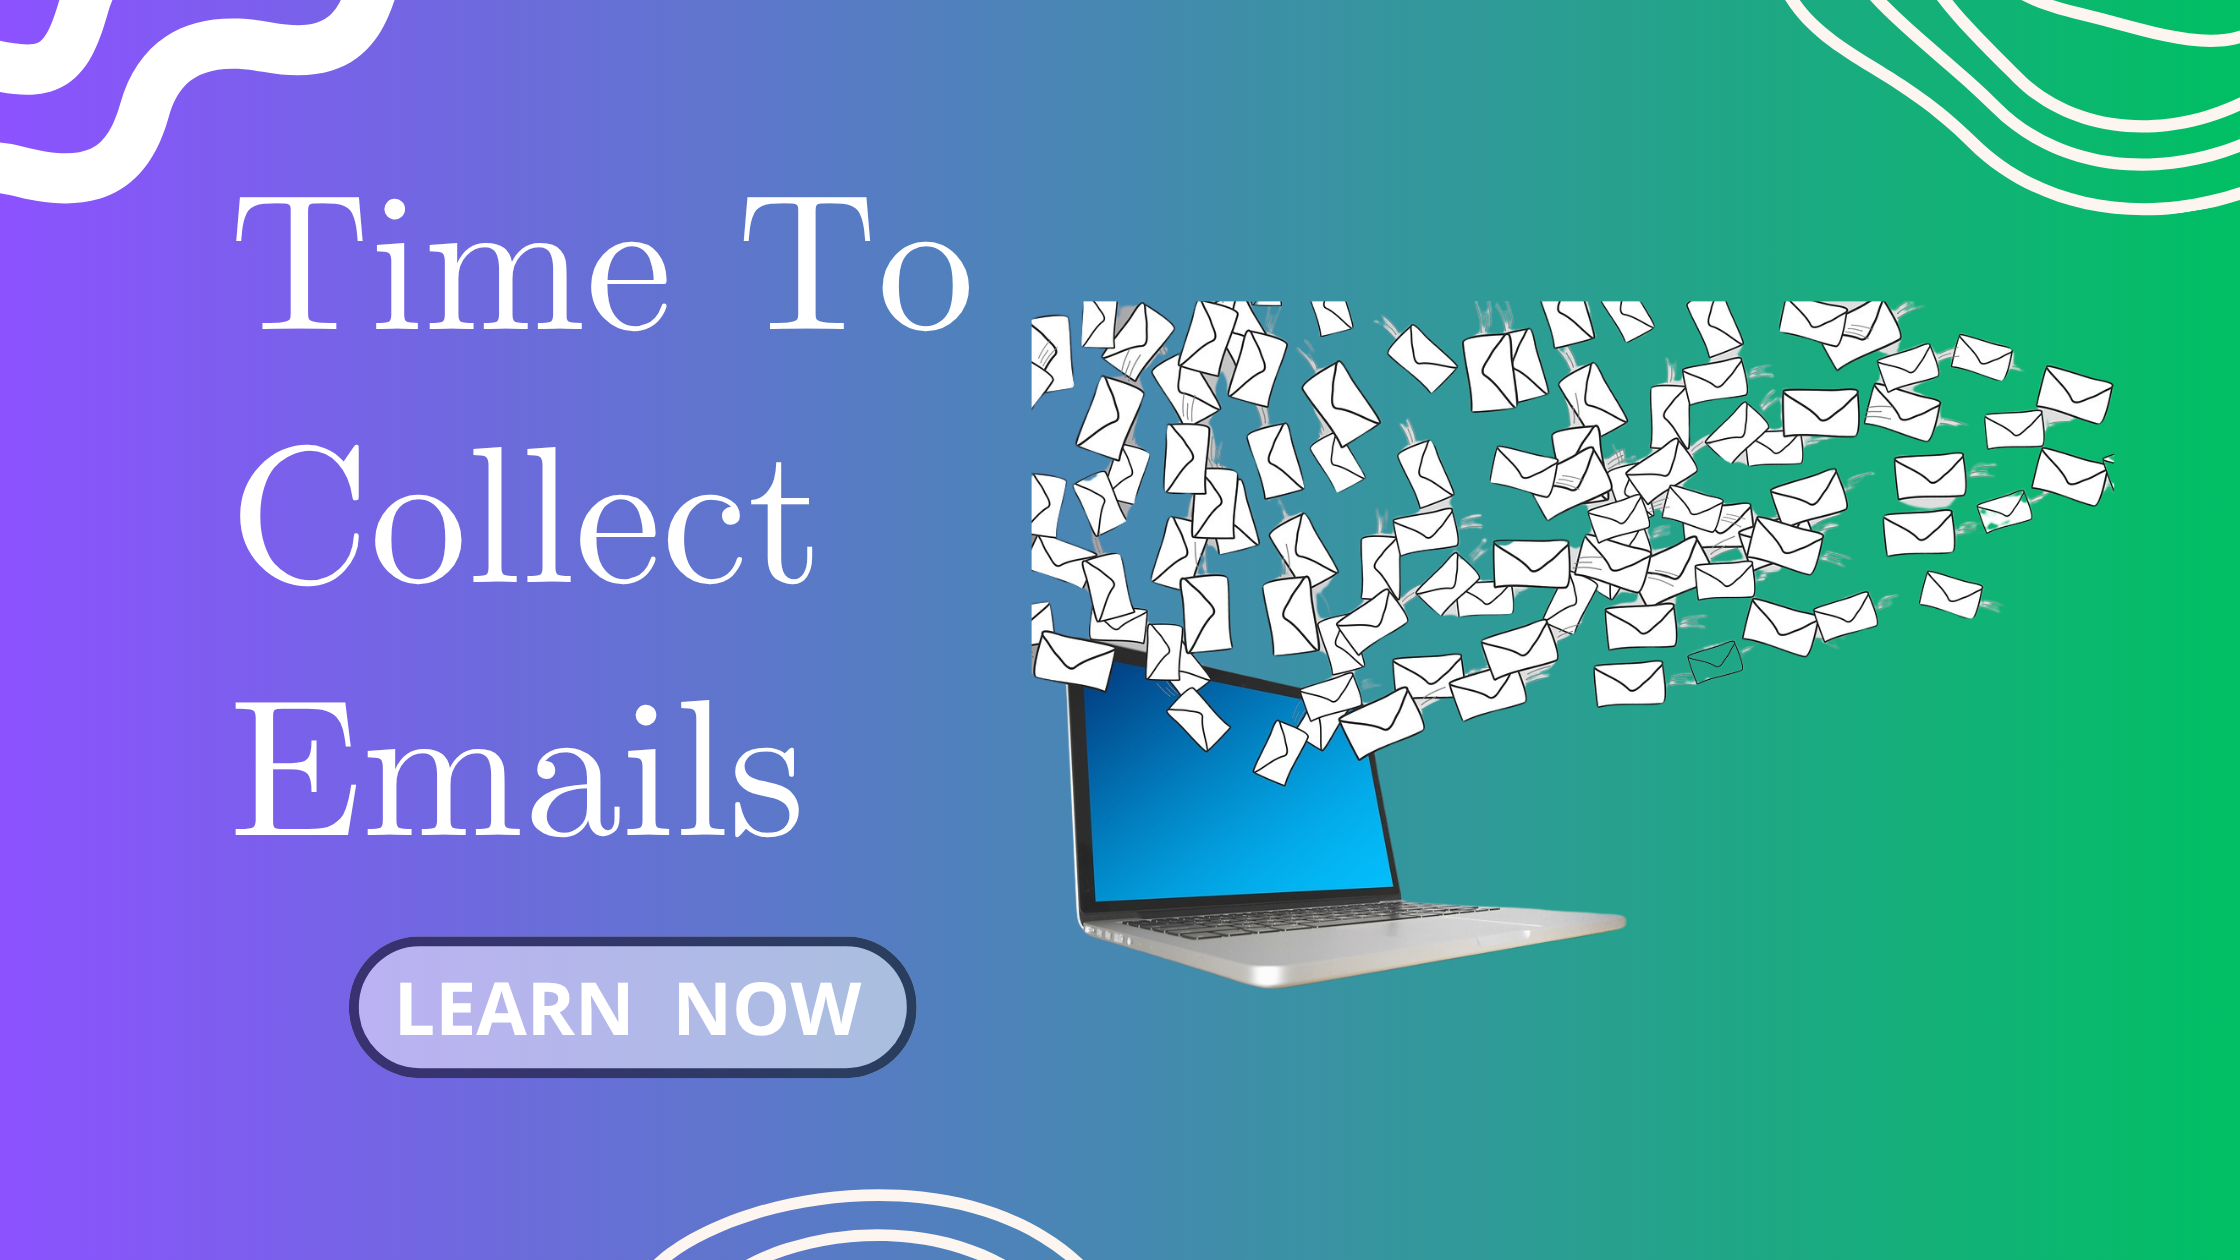
Now that you’ve got your lead magnet ready, let’s move on to the next important step: adding it to your blog and setting everything up to start collecting emails.
Why You Need to Add Your Lead Magnet Properly
Just having a great freebie isn’t enough. If it’s not placed strategically on your blog, no one will see it — and your email list will remain empty.
Adding your lead magnet in the right places (and connecting it to your email tool) means:
Growing your email list consistently
Building a warm audience for your content
Creating future income opportunities (product launches, affiliate offers, etc.)
What You Need to Get Started
Here’s what you’ll need:
-
Your lead magnet (PDF, checklist, etc.)
-
A blog (built on WordPress, Wix, or other platform)
-
A free or paid email marketing tool (e.g., MailerLite, ConvertKit, Systeme.io)
-
15–30 minutes to follow this guide
Step-by-Step: How to Add Your Lead Magnet to Your Blog
1️⃣ Upload Your Lead Magnet File
Before anything else, you’ll need to upload your lead magnet file online so your email subscribers can download it automatically.
If you’re using WordPress:
-
Go to your WordPress Dashboard
-
Navigate to Media > Add New
-
Upload your PDF lead magnet
-
Click to view the file and copy the file URL
🔗 This is the download link you’ll use in your email tool later.
2️⃣ Connect to Your Email Marketing Platform
If you haven’t signed up for an email marketing tool yet, here are some beginner-friendly ones (with free plans!):
| Tool | Free Plan? | Notes |
|---|---|---|
| MailerLite | ✅ Yes | Great for beginners with drag & drop editor |
| ConvertKit | ✅ Yes | More creator-focused |
| Systeme.io | ✅ Yes | All-in-one tool (landing pages, funnels) |
-
Create a new form or landing page
-
Set your form to deliver the lead magnet (paste in your file download link)
-
Customize your confirmation message and thank you email
Done! Now you’re ready to embed the form on your site.
3️⃣ Add the Signup Form to Your Blog
There are 3 key areas to display your email form for best results:
A. Blog Post Header or Banner
Use a simple sentence like:
“🎁 Get your free 30-Step Blog Launch Checklist — click here to download!”
Use a button or embedded form linked to your email tool.
B. Inside Your Blog Content (Middle or End)
You can naturally mention your lead magnet while writing your post:
P.S. If you’re starting your own blog, don’t miss my free checklist with all 30 steps! 👇
Then embed the form right below.
C. Sidebar or Footer Widget
If you’re using WordPress:
-
Go to Appearance > Widgets
-
Drag a “Custom HTML” or “Text” block
-
Paste your form embed code
This makes your opt-in visible site-wide!
Optional: Create a Dedicated Landing Page
For social media or ads, create a standalone landing page just for your lead magnet.
Your email tool (like ConvertKit or MailerLite) usually has a drag & drop builder.
Landing page example:
“Get the 30-Step Blog Launch Checklist (2025) – Yours Free!”
✔️ Step-by-step guidance
✔️ Save time and avoid overwhelm
✔️ Works for any beginner blogger!
Then share this page on your YouTube videos, Pinterest pins, Instagram bio, etc.
Pro Tips to Boost Your Email Signups
-
Use a clear call to action (“Download now”, “Get instant access”)
-
Highlight the benefit: What problem does your lead magnet solve?
-
Test different placements — see what converts best
-
Use your brand colors, fonts, and logo for consistency
What Happens After Someone Signs Up?
Here’s what your new subscriber should experience:
-
Confirmation or Thank You Page
“Thanks! Your checklist is on its way to your inbox -
First Welcome Email (Instant or within a few minutes)
Include:-
Link to download the freebie
-
Warm introduction
-
What to expect next (future tips, content)
-
This is the beginning of your relationship. Make it friendly and valuable!
My Real Example (So You Can Copy!)
On my blog JoinAIBlogging, I created a free lead magnet:
30-Step Blog Launch Checklist (2025)
-
I uploaded it to my WordPress media library
-
I connected it to a simple ConvertKit opt-in form
-
I embedded that form inside my blog post and sidebar
-
I created a thank you email that automatically delivers the file
It’s simple, beginner-friendly, and working!
Final Thoughts: Start Small, Improve Later
Don’t overthink it. Your first form doesn’t need to be perfect.
Start with one simple opt-in placement (e.g., inside a blog post). Once that’s live, add more as you grow.
Remember: Every email subscriber is a potential loyal fan and future customer.
Your Turn!
Today’s task:
Upload your lead magnet
Connect your email tool
Embed your first opt-in form on your blog!
And stay tuned — in the next step, we’ll talk about setting up your email welcome message and nurture sequence to keep your new subscribers engaged.
Keep blogging, keep building. You’ve got this!